REVIEW · SYDNEY
Sydney Photography Masterclass – Private Photography Lesson
Book on Viator →Operated by Aperture Tours · Bookable on Viator
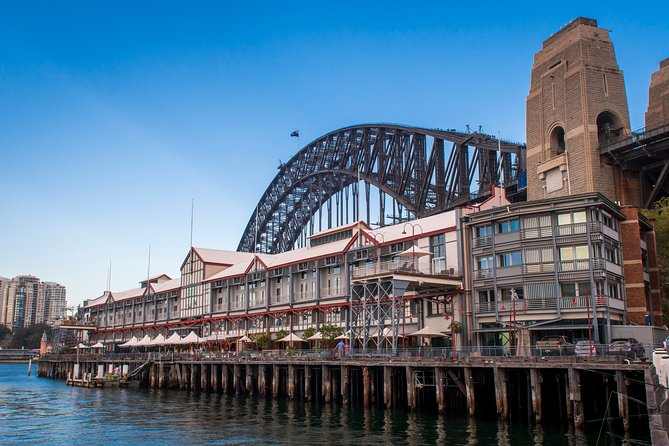
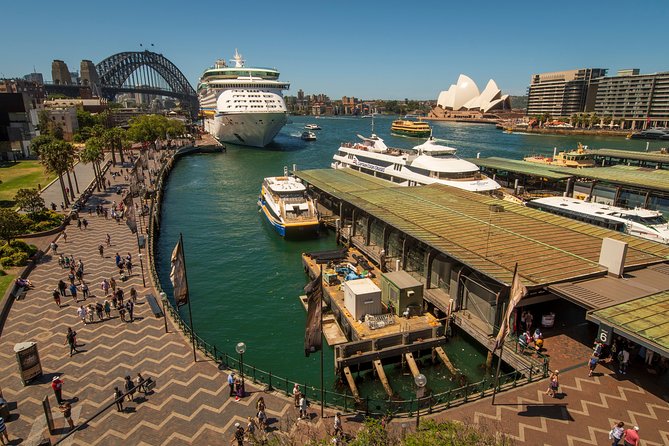
A camera and a plan are all you need here. This private Sydney photography masterclass pairs iconic viewpoints with real teaching, so you leave knowing why your shots work (or don’t). I especially liked the way the lesson breaks down the exposure triangle and then puts it into practice on the Harbour and at night around the Opera House, Bridge, Circular Quay, and The Rocks. You also get a small group setup (up to four people), which makes it easier to get targeted feedback, not just a generic walk.
You should go in with one expectation set: it’s a tuition-heavy experience, not a casual sightseeing cruise. Also, you’ll likely want your own camera (or plan to borrow one), and a tripod isn’t included—so low-light setups are easiest if you rent or bring one.
In This Review
- Key Highlights
- A Private Masterclass That Turns Sydney Into Your Classroom
- Price and Value: What $186.48 Covers (And What It Doesn’t)
- Starting at Kirribilli: How the Lesson Gets You Moving Fast
- Milsons Point to Luna Park: Shooting Icon Angles While You Learn Exposure
- Under the Harbour Bridge and Toward the Bridge Shots
- Opera House Through Day-to-Night: Learning to Control Night Contrast
- Mrs Macquarie’s Chair After Dark: Making the Lights Behave
- The Rocks and Circular Quay: Backstreets, Vantage Points, and Final Review
- Who This Tour Suits Best (And Who Might Want Something Else)
- Practical Tips to Get More Out of Your Three Hours
- Should You Book Sydney Photography Masterclass?
- FAQ
- What is the duration of the Sydney Photography Masterclass?
- How large is the group for a private lesson?
- What does the price include?
- Do I need to bring my own camera?
- Is a tripod included?
- Where does the tour start and end?
- Can I cancel and get a full refund?
- Question goes here
Key Highlights
- Private, small-group coaching (up to four) so your questions get answered on the spot
- Exposure triangle in the real world: aperture, ISO, and shutter speed tied to what you’re photographing
- Night photography technique practice at multiple harbour and city-light locations
- A route built for timing: you shoot landmark angles while Sydney starts to glow
- On-the-go framing lessons on what to include, what to leave out, and where to stand
- Photo review at the end to help you lock in what improved most
A Private Masterclass That Turns Sydney Into Your Classroom
What makes this masterclass click is the mix of teaching and picture-making. You’re not just walking from view to view. You’re learning how to see like a photographer, then testing those ideas immediately while you’re standing there with Sydney in front of you.
I like that the approach starts with fundamentals and doesn’t treat them like homework. You’ll work through the technical basics—aperture, ISO, and shutter speed—and then connect each setting to real outcomes in the scene you’re shooting. That matters because the same setting can look great in daylight but get messy fast at night. Here, you get a way to predict what will happen before you press the shutter.
The other big win is the private format. With up to four people, your instructor can aim examples at different comfort levels. In past sessions, the photographer guide Glenn was praised for adjusting the lesson so two people with different abilities both benefited. That’s exactly the sort of flexibility you want when you’re trying to improve fast.
One thing to consider: if you expect a pure photo tour where the main goal is sightseeing, you might feel like you’re getting pulled into settings and exercises. If you’re excited to learn and want better results from your camera, you’ll love it.
You can also read our reviews of more private tours in Sydney
Price and Value: What $186.48 Covers (And What It Doesn’t)
At about $186.48 per person for roughly three hours, you’re paying for guided tuition plus a local photographer guide and a tailored route across major harbour and city areas.
For value, the private coaching is the key. In that time, you’re getting:
- camera fundamentals
- framing and composition guidance
- night photography techniques
- help choosing positions that work for landmark shots
- a photography review after you shoot
What’s not included is important: your camera isn’t included, and a tripod isn’t included (though tripod rental may be available). That means you’ll get the most out of the lesson if you show up ready to experiment. If you don’t have a camera yet, you’ll want to sort that beforehand so the coaching time isn’t spent waiting.
Also note that you can benefit from group discounts, and you’ll receive a mobile ticket. If you’re traveling with a friend who’s also serious about improving, teaming up can make the cost feel more reasonable.
Starting at Kirribilli: How the Lesson Gets You Moving Fast
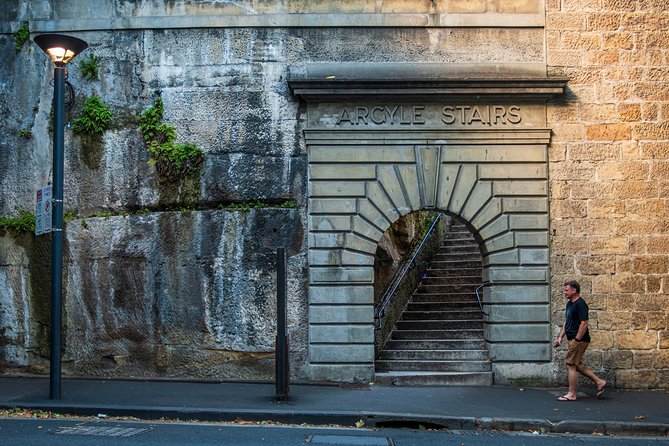
The experience begins at 41 Broughton St, Kirribilli NSW 2061, and it ends back at the same meeting point. It’s close to public transportation, which helps if you’re staying elsewhere in Sydney and don’t want to spend the entire evening on transit.
What I like about starting in this area is that it gets you into position early—before the city-light challenges hit. This matters for two reasons:
- You practice exposure and framing while scenes are still relatively forgiving.
- As daylight fades, you already know where you’re headed and how to set up for low light.
You’ll be working with a professional photographer guide and a local guide, and the lesson style is hands-on. You’ll be encouraged to try settings, then adjust based on what you see on the spot.
Milsons Point to Luna Park: Shooting Icon Angles While You Learn Exposure
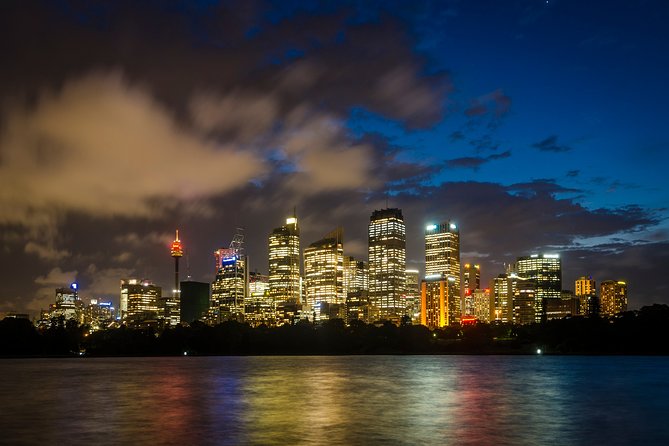
Your first stops are set up for easy wins and strong photo structure. You start at Milsons Point, then move to McMahons Point, and it’s onward to Luna Park.
Milsons Point and McMahons Point are great because you can practice framing quickly. Look for how the Harbour Bridge and the harbour geometry guide your eye. Your instructor’s job here is to push you past random clicking and into deliberate composition—like choosing a foreground element, controlling the angle of lines, and deciding what should dominate the frame.
At Luna Park, you get a different kind of challenge. Bright elements, signage, and architectural shapes can trick your camera’s metering. This is where learning the exposure triangle actually pays off. When you understand how aperture changes depth of field, how ISO affects noise, and how shutter speed affects motion blur, you can make choices instead of hoping.
Even if you’re new, these locations help you build confidence. You’re learning the basics in spots that already look good. That’s a smart way to train your eye.
Under the Harbour Bridge and Toward the Bridge Shots
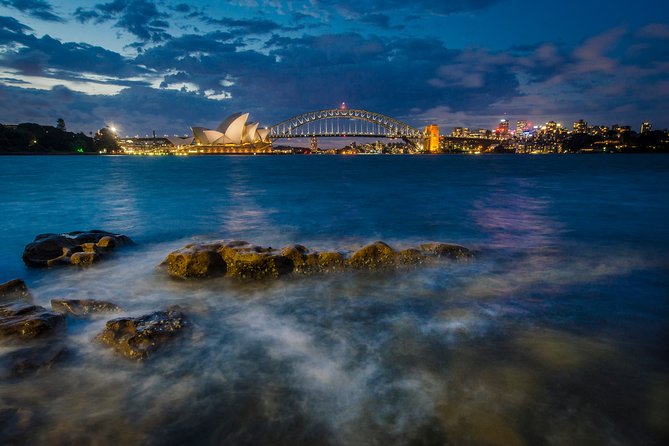
From there you head into areas designed for stronger landmark photographs. You’ll shoot around Sydney Harbour Bridge and then on to Hickson Road Reserve.
This part of the session is where the “right place at the right time” message becomes real. Bridge photography isn’t only about having a camera. It’s about being positioned for the angle you want and timing your settings for the light level changing around you.
At Hickson Road Reserve, you can practice how to handle reflections and distance. If your settings are off, reflections get washed out or the scene turns too dark. Your instructor can help you adjust based on what you’re seeing—not what a textbook says.
If you want a practical takeaway, it’s this: start thinking of light and motion as separate problems. Light tells you whether your exposure is working. Motion tells you whether things are sharp or smeared. The night portion of the masterclass will sharpen those skills even more.
You can also read our reviews of more photography tours in Sydney
Opera House Through Day-to-Night: Learning to Control Night Contrast
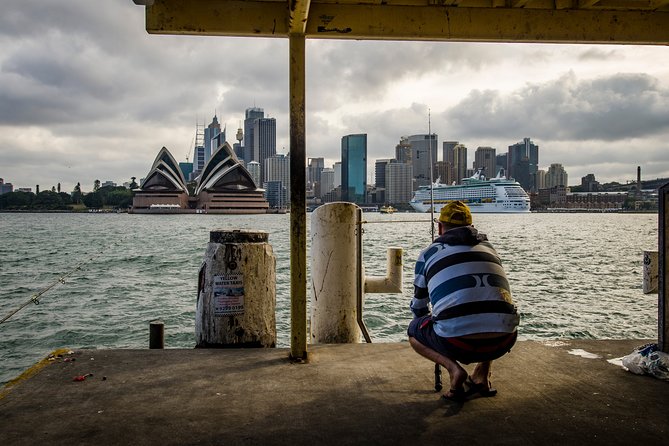
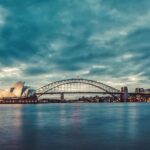
Next comes Sydney Opera House, followed by Cahill Expressway. This is one of the most useful stretches of the tour because it forces you to deal with contrast.
Opera House scenes can go from crisp and readable to tricky as the sky darkens and the city lights intensify. That’s when ISO and shutter speed become your main tools for controlling brightness without destroying detail. A too-high ISO can create noise that flattens texture. A too-slow shutter can blur everything, even when you wanted crisp building lines.
Cahill Expressway fits in because it often brings you lines and structure—great for composition exercises. You’ll likely be encouraged to make conscious decisions about what to include and what to leave out. In other words: stop treating your frame like a window and start treating it like a picture.
This is also where the instruction style becomes valuable. You’re not handed one “correct” setting. You’re shown how to choose settings for your goal: bright lights kept under control, sharp lines, controlled blur where it makes sense, and overall composition that feels intentional.
Mrs Macquarie’s Chair After Dark: Making the Lights Behave
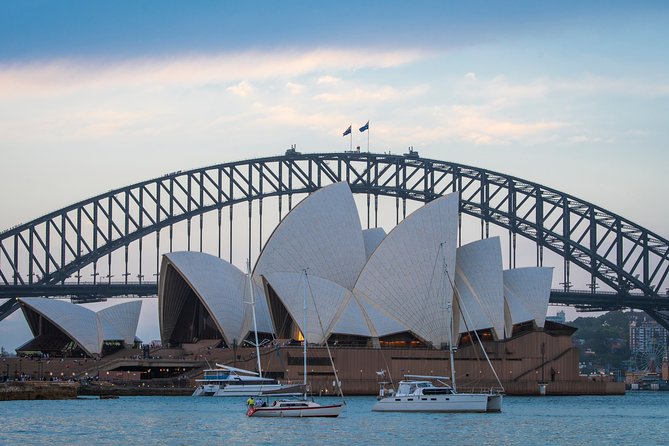
After the Opera House and expressway segment, the route moves to Mrs Macquarie’s Chair. This is a key night photography moment.
Why? Because you’re shooting when the city starts to twinkle. That glow is gorgeous, but it can also overwhelm your camera. Night scenes often introduce:
- bright light sources that blow out quickly
- darker shadows that disappear in underexposed frames
- mixed lighting that changes how your camera renders color and brightness
Your instructor’s job is to show you techniques that work. In this masterclass, night photography is a core focus, including what settings and locations work best for the kind of shots people actually want in Sydney at night.
If you’re serious about improving, pay attention to two practical habits during this section:
- Check your frame before you check your exposure. If composition is off, even a technically perfect photo won’t feel right.
- Adjust one variable at a time. If you change ISO and shutter speed and aperture all at once, you won’t learn what caused the difference.
When you get it right here, you’ll walk away with night photos that feel stable and deliberate, not accidental.
The Rocks and Circular Quay: Backstreets, Vantage Points, and Final Review
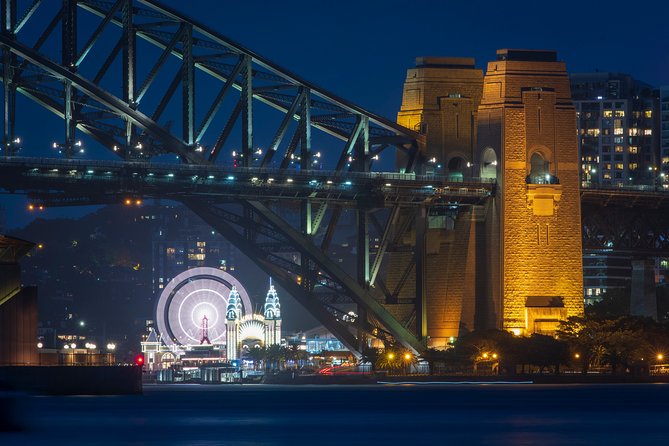
The tour continues into The Rocks, then finishes around Circular Quay.
The Rocks is a smart change of pace after the big landmarks. You get to work on storytelling through streets and details. Even if you’re aiming for recognizable views, you’ll likely be guided to notice textures, angles, and small scene elements that make photos feel lived-in rather than purely postcard.
This is also where framing instruction comes into full effect. Narrower streets demand different thinking than wide harbours. Your guide will help you decide:
- what should be the main subject
- how to use leading lines
- when to simplify a scene so the eye doesn’t get lost
Circular Quay brings you back to the harbour energy. You can apply the night techniques you practiced just before, but with different elements: water, boats, harbour edges, and more complex backgrounds.
At the end, you’ll get a photography tuition and review session. That final review is important because it turns your memory into a plan. Instead of wondering why one shot worked and another didn’t, you’ll understand what to repeat and what to stop doing.
It also helps you create a personal checklist for next time:
- Did I pick a subject I can explain?
- Did I control exposure so lights aren’t just glare?
- Did I choose a shutter speed that matches the motion in my scene?
- Did my composition lead the viewer’s eye?
Who This Tour Suits Best (And Who Might Want Something Else)
This experience is best for you if you’re one of these:
- You want to learn manual mode basics or improve your confidence with it.
- You’re shooting a mix of daylight landmarks and night scenes and you want settings that actually translate.
- You like structured teaching but still want to walk real Sydney streets and harbour spots.
- You’re traveling with a small group (or as a couple) and you want individual attention rather than a crowd.
It might not be the best match if you’re purely sightseeing-first and don’t want to think about settings. It’s also less ideal if you’re not ready with a camera and don’t want to rent a tripod, because night photography becomes much easier when you can steady your shots.
Practical Tips to Get More Out of Your Three Hours
If you want this masterclass to pay off immediately, come prepared to experiment. Here are a few practical moves that align with how the lesson is designed:
- Bring your camera settings habits, even if they’re messy. The instructor can correct what you’re already doing.
- If you can, consider renting or bringing a tripod for night work. Long exposures and stable framing are usually easier that way.
- During landmark stops, take one shot that’s wide and clean, then take one shot that’s more intentional: a tighter crop, a different angle, or a simpler background.
- When night begins, slow down. You’ll get better learning if you pause to check exposure and composition before each change.
And for the best results, treat the route like a sequence of exercises. Early stops are for fundamentals. Later stops are for applying those fundamentals when the lighting gets harder.
Should You Book Sydney Photography Masterclass?
I’d book this if you want a focused, private way to get better images from Sydney’s most photogenic places. The strongest reason is the teaching structure: you work through the exposure triangle, practice night photography techniques, and end with a photo review that helps you keep the gains.
If you’re the type who gets frustrated by night shots that look great on your phone but fall apart in your camera, this is exactly the kind of lesson that can turn that around. Just make sure you’re ready to bring a camera, and think about using a tripod for night stability.
FAQ
What is the duration of the Sydney Photography Masterclass?
It runs for about 3 hours.
How large is the group for a private lesson?
It’s private, with your group limited to up to four people in total.
What does the price include?
Included are a professional photographer guide (and local guide), plus photography tuition and review.
Do I need to bring my own camera?
Yes. A camera is not included.
Is a tripod included?
No. A tripod isn’t included, though tripod rental may be available.
Where does the tour start and end?
It starts at 41 Broughton St, Kirribilli NSW 2061, and ends back at the meeting point.
Can I cancel and get a full refund?
Yes. You can cancel up to 24 hours in advance for a full refund.
Question goes here
Answer paragraph
You Might Also Enjoy

More Photography Tours in Sydney
More Private Tours in Sydney


More Tour Reviews in Sydney
- Blue Mountains Small-Group Tour from Sydney with Scenic World,Sydney Zoo & Ferry
★ 5.0 · 3,709 reviews