REVIEW · SYDNEY
Sydney Photography Course in the Historic Rocks Area
Book on Viator →Operated by Alfonso Calero Photography · Bookable on Viator
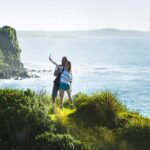
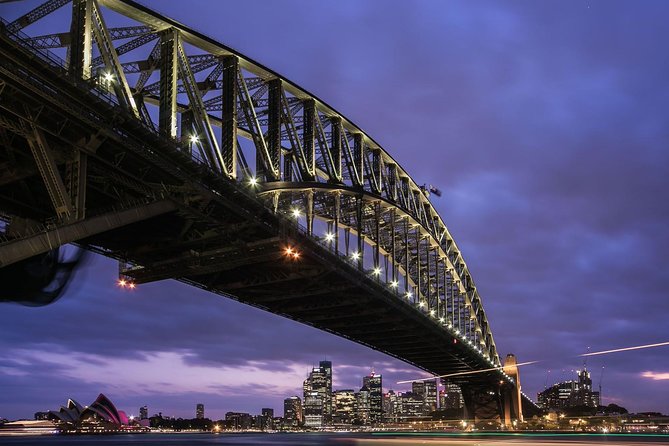
Laneways plus camera lessons equal smart fun. This Sydney Photography Course in The Rocks turns the neighborhood into a hands-on classroom, with help from Alfonso Calero Photography and planned photo stops aimed at big-city icons like the Harbour Bridge and Opera House. I like the manual mode focus and the small-group feel, so you’re not just taking photos—you’re learning how to control them. One thing to consider: you need to bring your own camera, and the outing depends on good weather.
You’ll meet in the Rocks and spend about 2.5 hours learning what to change on your settings and why, then testing it on the street. The lessons cover practical basics like composition and exposure, plus how shutter speed changes the look of your pictures. With a max group size of 10, you can actually ask questions and get course notes that help you remember what you tried.
If you want to match the course to your schedule, you can choose between an afternoon or nighttime class. That timing choice matters because Sydney looks different in different light—so the guide’s advice will help you aim for the look you want, not just whatever the camera decides.
In This Review
- Key things you’ll notice right away
- Why The Rocks is a smart classroom for photography
- Meeting at Kendall Lane: timing and how the 2.5 hours flows
- Stop 1 in The Rocks: practice composition where buildings do the work
- Stop 2: building Harbour Bridge and Opera House shots with real settings
- Manual mode lessons you can use the next day
- Afternoon or nighttime: choosing the light that matches your style
- Small-group attention with Alfonso Calero Photography
- Price and value: what €154 really covers
- What to bring and how to avoid common shooting mistakes
- Who this course suits best
- Should you book the Sydney Photography Course in The Rocks?
- FAQ
- How long is the Sydney Photography Course in the Historic Rocks Area?
- Where does the tour start and end?
- Do I need to bring my own camera?
- What camera skills does the guide teach?
- Is this a large group tour?
- Is hotel pickup included?
- What is included in the ticket price?
- Can I choose between afternoon and nighttime?
- What happens if the weather is bad?
Key things you’ll notice right away
- Small-group size (max 10) means more time for questions and feedback
- Manual mode coaching with hands-on practice, not just a lecture
- Photo stops built around Sydney icons like Harbour Bridge and Opera House
- The Rocks laneways and sandstone give you lots of texture for composition practice
- Afternoon or nighttime options let you choose the mood you want to shoot
- Course notes included, so you can keep using the lessons after the tour
Why The Rocks is a smart classroom for photography
The Rocks district is perfect for learning because it’s not one kind of scene. You get historic sandstone buildings, narrow lanes with repeating lines, and perspectives that lead your eye toward water and skyline views. In other words, it gives you real problems to solve with your camera—light changes, backgrounds compete, and there are plenty of angles.
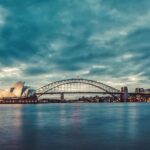
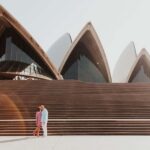
You also get a natural mix of “detail shots” and “big picture” framing. When your guide takes you to vantage points for the Harbour Bridge and Sydney Opera House, you’re not just chasing postcards. You’re practicing how to control exposure and keep details crisp while the background is busy.
You can also read our reviews of more historical tours in Sydney
Meeting at Kendall Lane: timing and how the 2.5 hours flows
The course starts at Kendall Lane in The Rocks (Kendall Ln, The Rocks NSW 2000) and ends back at the same meeting point. Expect it to run about 2 hours 30 minutes, which is long enough to practice multiple settings, but short enough that you won’t feel stuck walking all day.
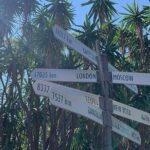
This is also a mobile ticket experience, so you won’t be hunting for paper confirmations. Since it’s near public transportation, you can build it into a broader Sydney plan without stressing about getting back to your hotel.
Most importantly, it’s a bring-your-own-camera class. That may sound obvious, but it changes how effective the session is: you’ll be working on the camera you actually plan to use for the rest of your trip.
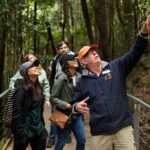
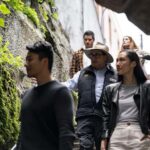
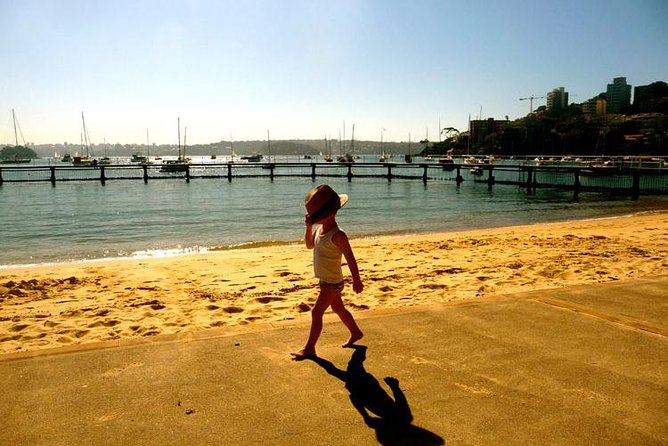
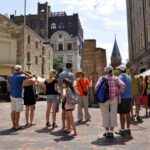
Stop 1 in The Rocks: practice composition where buildings do the work
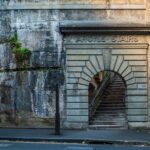
Your first stop is in The Rocks, and the area is set up for learning visual structure. Think lines from alley walls, doorways framed by older stone, and repeating textures that help you practice composition without needing a complicated scene.
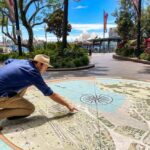
The course also points you toward historic sites around the laneways, including the area near The Rocks Discovery Museum. That matters because it gives you a mix of close-up and medium-distance subjects. Close subjects help you practice focus and exposure control. Medium-distance scenes help you learn how to keep backgrounds from stealing attention.
A good part of courses like this is that the guide doesn’t just tell you what settings to use—they help you see the effect instantly. With manual mode teaching, you’ll get prompted to try something, look at the result, and adjust. That feedback loop is where the learning sticks.
Practical drawback to note: since you’re shooting around historic streets and museum-adjacent areas, you’ll want to be mindful of where you stop so you’re not blocking foot traffic. Comfortable walking shoes help too.
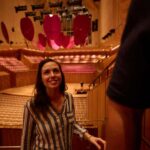
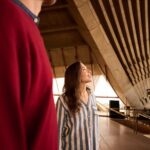
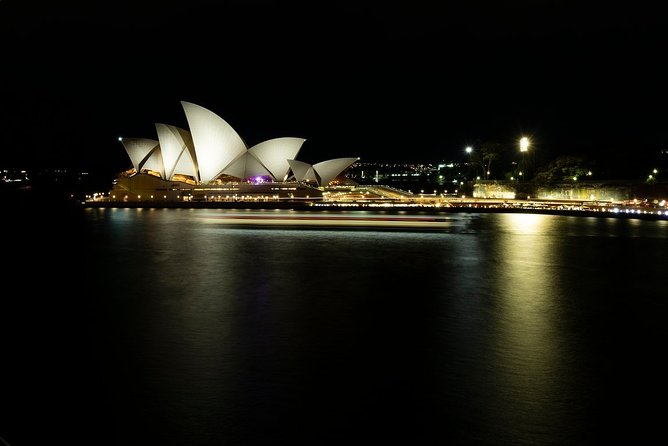
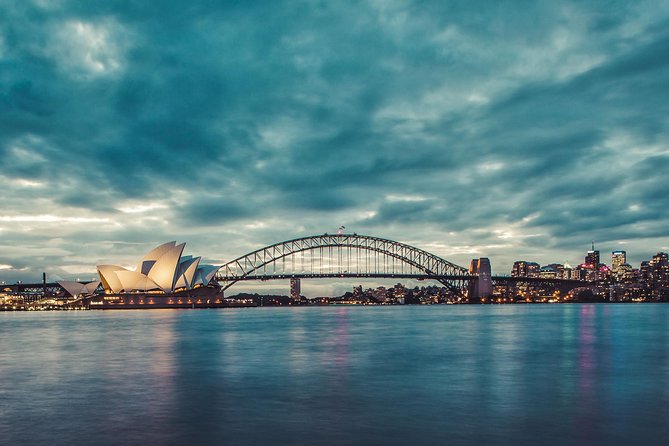
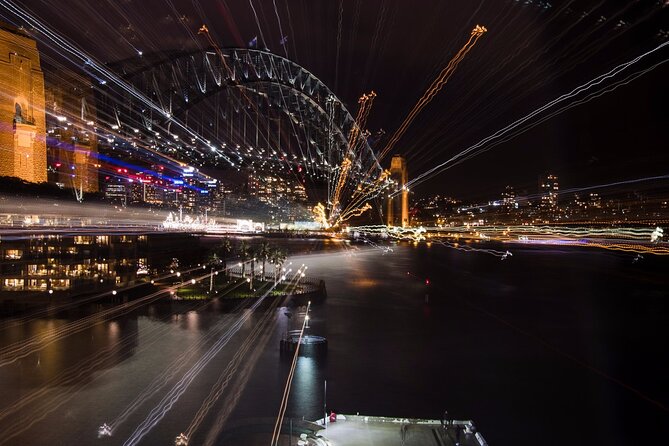
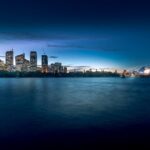
Stop 2: building Harbour Bridge and Opera House shots with real settings
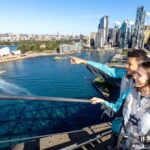
Next, you’ll head to Sydney photography tour photo areas tied to classic Sydney views—specifically the Sydney Harbour Bridge and Sydney Opera House. These are great subjects because you can’t hide from exposure challenges: bright sky, reflective water, and high-contrast details can all mess with automatic settings.
This is where the manual mode lesson becomes more than technical. You’ll learn to think in terms of control: how shutter speed can freeze or soften motion, how exposure affects the look of the sky and shadows, and how composition determines what stands out in the frame.
Even if you’re not a “gear person,” shooting landmarks forces you to make choices. The guide’s job is to help you make those choices quickly, so you’re not stuck fiddling with settings while the light shifts.
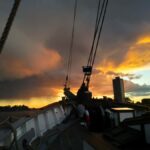
If you choose a nighttime class, this part of the course gets even more important. Night scenes often exaggerate exposure mistakes. That’s why guidance for exposure and shutter speed is valuable—you’ll spend less time guessing and more time getting the look you want.
Manual mode lessons you can use the next day
The course is built around helping you use your camera in manual mode, but the goal isn’t to memorize numbers. The goal is to understand cause and effect: if you change shutter speed, what happens to motion and sharpness. If you change exposure, how highlights and shadows respond. If you adjust framing and composition, how attention moves through the photo.
You’ll get tips tied to the real world of street and viewpoint shooting, including:
- Composition: how to place elements so the shot reads cleanly
- Exposure: how to balance brightness so your subject looks intentional
- Shutter speed: how timing changes blur and sharpness
Course notes are included, which I always appreciate. When you’re out shooting, it’s easy to forget what you tried 20 minutes earlier. Having notes means you can replicate your wins later, back in the hotel with a calmer brain.
You can also read our reviews of more photography tours in Sydney


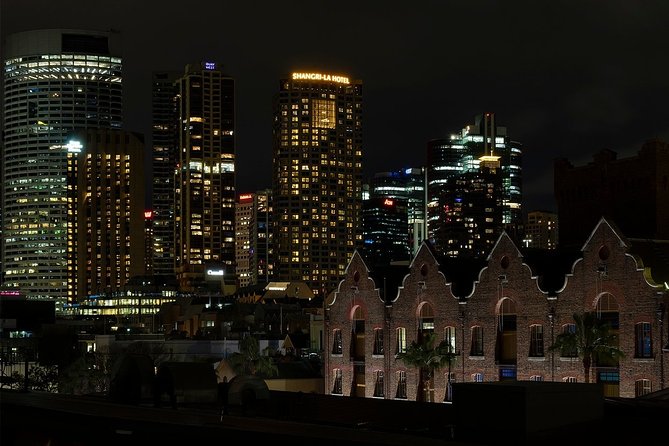
Afternoon or nighttime: choosing the light that matches your style
You can choose between an afternoon or nighttime class. That choice is more than scheduling. It affects what you’re practicing.
Afternoon sessions tend to be about clarity and structure—learning how to control exposure when skies and stone are bright, and how to build composition with strong lines in the laneways.
Nighttime sessions tend to be about mood and precision. City lights can tempt you into overly bright frames or smeared motion if settings aren’t intentional. Guidance on shutter speed and exposure becomes the difference between a photo that looks like it was taken by accident and one that looks like it belongs on purpose.
If you’re unsure which to pick, choose based on how you like to shoot: are you comfortable working with changing light, or do you prefer the steadier conditions of daytime?
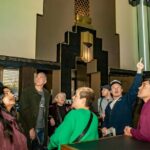
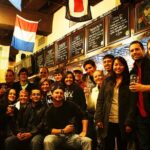
Small-group attention with Alfonso Calero Photography
This is guided by Alfonso Calero Photography, and the teaching style is a big part of why the course performs so well. The class is capped at 10 travelers, which is small enough that you can get direct answers instead of generic tips.
Alfonso’s approach is built around being practical and approachable. You’ll get customized lessons tied to your own camera and your own shooting priorities. That’s the difference between a “try this trick” session and a real learning experience: you understand what you did and why it worked.
The best value of a small group shows up when you experiment. You’ll likely spend time trying one setting, then adjusting for the next shot. With a bigger group, that rhythm can get broken. Here, it tends to stay intact.
Also worth knowing: the course comes with course notes and lots of advice. That means you’re leaving with more than a handful of photos—you’re leaving with a system you can apply on your next shoot.
Price and value: what €154 really covers
At €154 for about 2.5 hours, the price lands in the “learning-focused” category rather than a sightseeing-only tour. What makes it feel like value is what’s included: the photography tutor/guide and course notes, plus loads of practical advice.
What’s not included matters too. You’ll need to budget for food and drinks, and there’s no hotel pickup or drop-off. The good news is the meeting point is in The Rocks and is near public transportation, so you can arrive without paying extra for transfers.
Bring-your-own-camera is another value driver. Since you’re using your own gear, the advice can be more directly applied rather than tailored to a specific demo camera you’ll never use again.
If you’ve ever stared at your photos and thought, I knew the scene was better than this, this course is aimed at closing that gap. The money goes toward coaching and feedback, not just movement around the city.
What to bring and how to avoid common shooting mistakes
Since you’ll be using manual mode and changing settings, come prepared. Here are practical things that help you get more out of the session without turning it into a gear scavenger hunt:
- Your digital camera (the tour requires you to bring your own)
- A way to keep shooting (extra battery and memory card, if you have them)
- Comfortable shoes for walking between viewpoints
- A charged phone only if you need it for any practical errands; the main focus is your camera
Also plan for the weather. The experience requires good weather, so if conditions aren’t great, the session may be rescheduled or refunded. In Sydney, clouds and mist happen, but the course is designed to work best when you can see the scenes clearly.
Who this course suits best
This experience is a strong fit if:
- you want better control over your camera settings and not just better luck
- you like shooting in a compact area with lots of texture and variety
- you want guided practice at viewpoints aimed at Sydney Harbour Bridge and Sydney Opera House
- you prefer a small group where your questions can get answered
It’s less ideal if:
- you don’t have a camera to bring
- you only want a casual walk with no interest in manual controls
- your schedule depends on perfect weather every hour (since the course requires good weather)
Should you book the Sydney Photography Course in The Rocks?
Yes—if you want real skill growth in a short time. The course structure makes it practical: you’re in the right neighborhood for visual training, guided by Alfonso Calero Photography, and pushed to use manual mode with advice on composition, exposure, and shutter speed. The payoff is that you should come away understanding how to steer your camera, not just copying someone else’s shots.
I’d especially recommend it if you’re spending limited time in Sydney and you want more than landmark photos. This course helps you build images with intent—something you can use long after you leave The Rocks.
If you’re willing to bring your camera, walk a bit, and show up ready to experiment, you’re likely to get excellent value from the €154 price for a 2.5-hour learning session.
FAQ
How long is the Sydney Photography Course in the Historic Rocks Area?
It runs for about 2 hours 30 minutes.
Where does the tour start and end?
The start is at Kendall Lane, The Rocks NSW 2000, Australia, and the activity ends back at the same meeting point.
Do I need to bring my own camera?
Yes. You must bring your own camera.
What camera skills does the guide teach?
The tutor provides advice on using your camera in manual mode, plus tips on composition, exposure, shutter speed, and related photography techniques.
Is this a large group tour?
No. It’s a small-group experience with a maximum of 10 travelers.
Is hotel pickup included?
No. Hotel pickup and drop-off are not included.
What is included in the ticket price?
Included items are the photography tutor/guide and course notes, along with loads of photography advice.
Can I choose between afternoon and nighttime?
Yes. You can choose from an afternoon or a nighttime class to fit your schedule.
What happens if the weather is bad?
The experience requires good weather. If it’s canceled due to poor weather, you’ll be offered a different date or a full refund.
You Might Also Enjoy
More Photography Tours in Sydney
More Historical Tours in Sydney
More Tour Reviews in Sydney
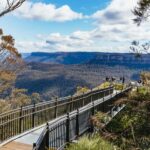
- Blue Mountains Small-Group Tour from Sydney with Scenic World,Sydney Zoo & Ferry
★ 5.0 · 3,709 reviews